
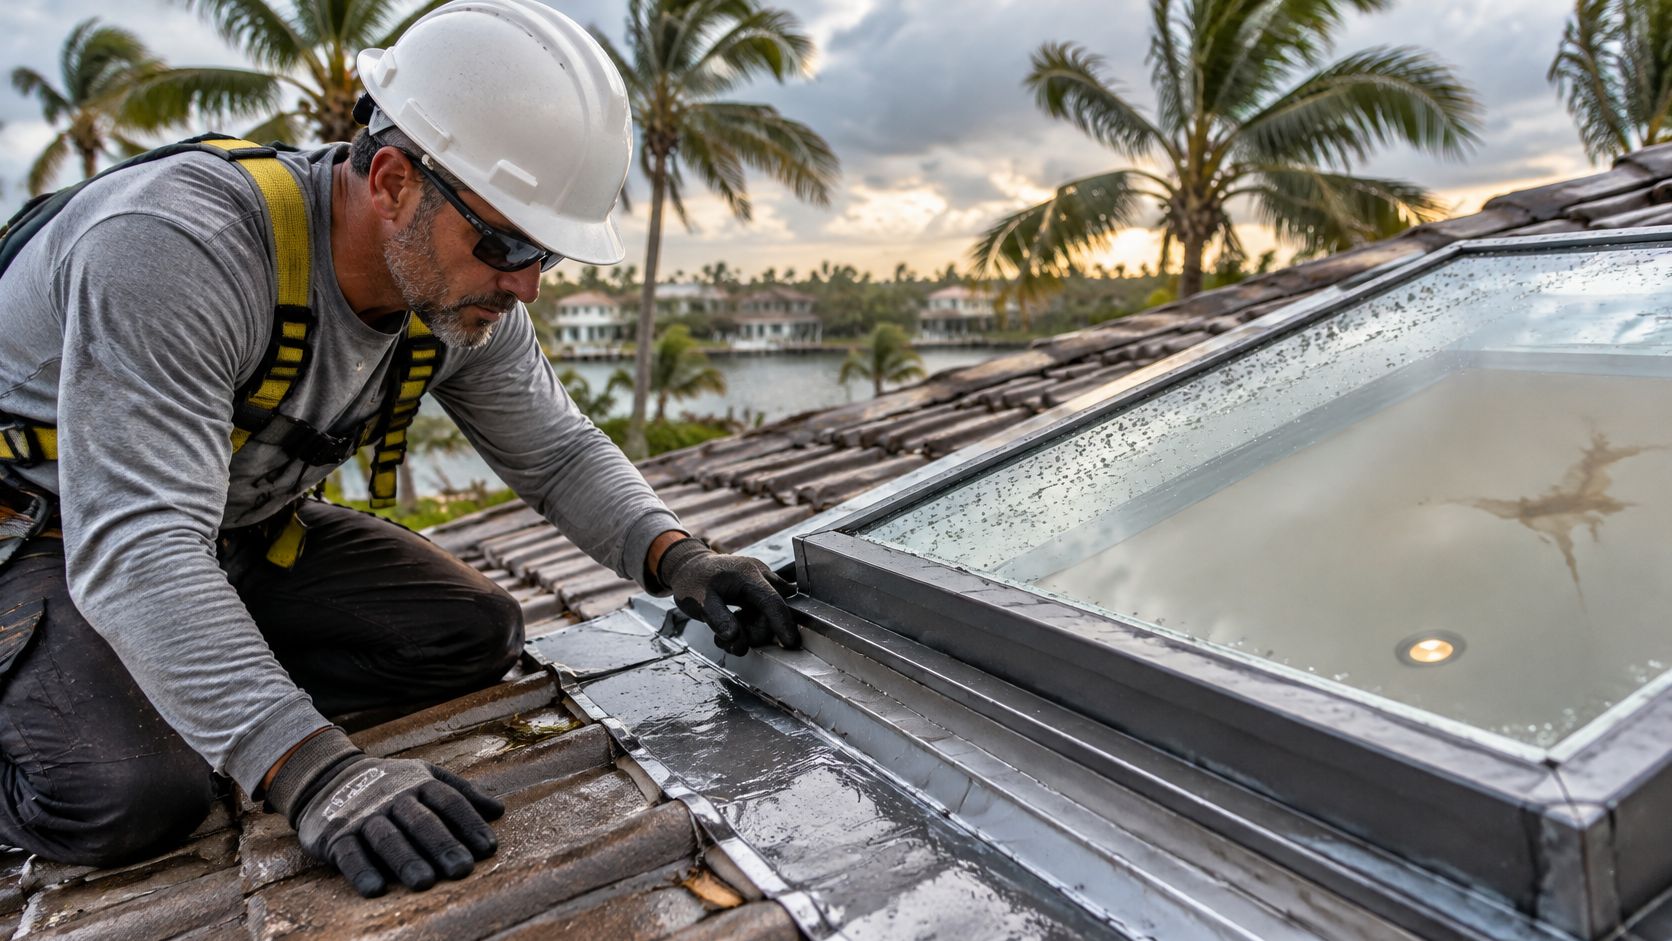
Repairing Leaking Skylights in South Florida
Smearing roof cement around the glass is usually the wrong first move when a skylight leaks. Say a ceiling stain appears in a Hialeah or Coral Gables home the morning after a summer storm. The visible mark tells you where water finished its trip, not necessarily where it entered.
Repairing leaking skylights starts with separating a problem inside the unit from a failure where the roof meets the curb. A sound skylight can leak through badly layered flashing, while fogged glass can need replacement without any roof leak at all. Buying sealant before making that distinction can turn a targeted repair into a messier, more expensive job.
Table of Contents
- Find the Real Source of a Skylight Stain
- How to Test and Contain a Leaking Skylight
- Decide on Repair or Replacement After a Storm
- Rebuild Flashing So Water Sheds Downhill
- Schedule Skylight Inspections and Document Leaks
- Book a Skylight Inspection from Hialeah
Find the Real Source of a Skylight Stain
A skylight leak is usually a waterproofing-detail failure, not a crack in the glazing. On a curb-mounted unit, inspect the downhill sill, side flashing, uphill head flashing, fasteners, curb joints, and roof surface just upslope. Wind-driven rain can enter a joint that sheds ordinary vertical rainfall without trouble.
The Department of Energy's Building America Solution Center recommends inspecting the unit, sash-to-frame connection, and skylight-to-roof junction, then using controlled hose testing to distinguish the source. Those are different repair locations, even when they produce similar ceiling stains.
Read the timing before choosing a repair
Moisture on cool, humid mornings without rain points toward indoor condensation. Warm indoor air reaches cold glass or an inadequately insulated shaft, leaving droplets that can run onto the trim. Check bathroom exhaust, room humidity, and shaft insulation before disturbing the roof.
Fog or droplets trapped between the panes indicate a failed insulated-glass seal. Wiping either exposed face won't remove that moisture. Perimeter caulk can't restore a factory glazing seal, so the next move is identifying a compatible replacement glass assembly or unit.
Drips during calm rain suggest a worn gasket, operable sash, or sill connection. Drips mainly during wind-driven rain put the flashing, curb, and adjacent roof covering higher on the inspection list. South Florida storm pressure can push rain sideways into open corners and beneath poorly integrated laps.
Skylight moisture clues and the first move
| Clue | When it shows | Likely source | First move |
|---|---|---|---|
| Damp glass or light shaft stain, no ceiling drip | Cool humid mornings, no rain | Indoor condensation | Dry the shaft and check humidity before any roof work |
| Fog or water trapped between panes | Any weather, inside the unit | Failed insulated-glass seal | Plan glass or unit replacement; sealant will not fix it |
| Drip at the frame during calm rain | During or right after vertical rain | Worn gasket, sash, or sill | Hose-test the unit only, then replace gasket or hardware if the frame is sound |
| Leak in wind-driven rain | Storms, often east or south exposure | Flashing, curb, fasteners, or adjacent roof | Stage a perimeter hose test, then rebuild layered flashing |
| Stain offset from the shaft | After rain, downhill of the opening | Roof leak migrating along the deck | Inspect covering and underlayment upslope of the skylight |
Record where the stain lands
Photograph the stain before wiping it. Include a wider view that shows whether it's centered on the shaft, concentrated at a corner, or offset downhill from the opening. Note the wind direction and whether the leak also happens in calm rain.
An offset stain deserves an upslope inspection, not an automatic skylight replacement. Water can follow sheathing, framing, or the outside of the shaft before reaching drywall.
A stain is a starting point for diagnosis, not a map of the entry hole.
Use the moisture pattern to choose the first test zone. A staged hose test should confirm the entry point before anyone opens the roof.
How to Test and Contain a Leaking Skylight
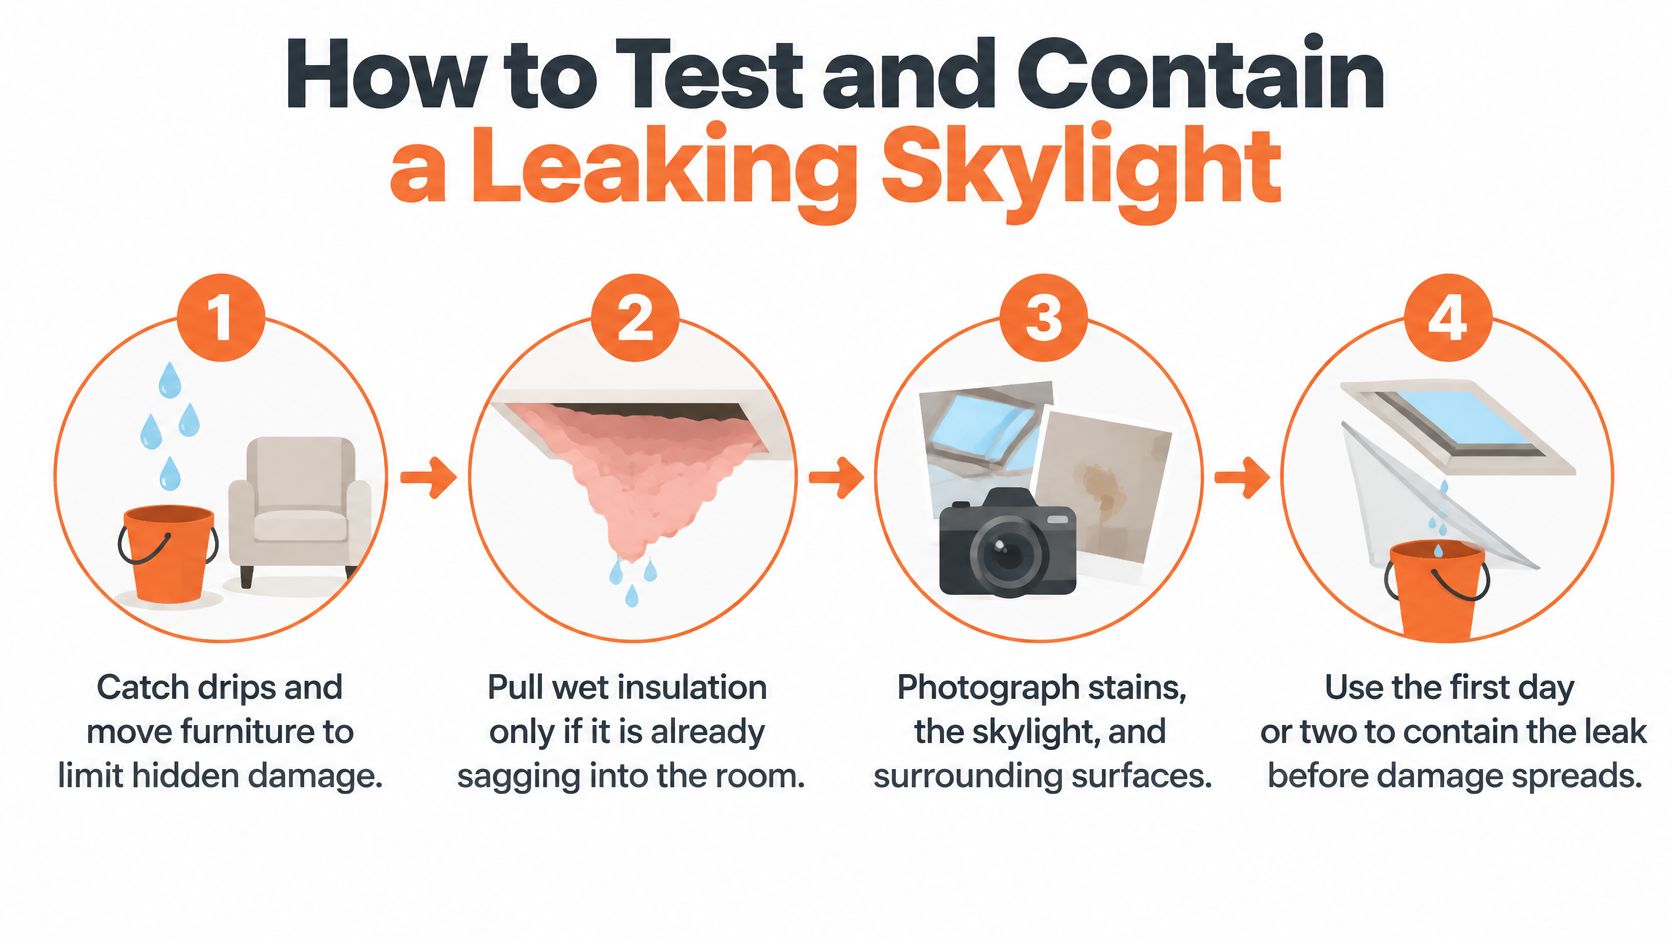
The first day or two should be spent containing water, drying accessible materials, and recording damage. Catch drips in a stable container, move furniture and electronics, and protect flooring without creating a slippery walking surface. Don't stand beneath bulging drywall or touch wet electrical fixtures.
Pull wet insulation only if it's already sagging into the room and you can handle it safely without disturbing wiring or unstable ceiling material. Wear gloves, eye protection, and appropriate respiratory protection; don't enter a suspect attic just to reach hidden insulation. Photograph stains, the shaft, and buckled drywall before cleanup.
Limit hidden damage immediately
The financial stakes aren't limited to the visible ceiling patch: ISO/Verisk figures summarized by PushLeads' water-damage guide put broad water-damage-and-freezing claims in 2019–2023 at 1.50 per 100 insured homes annually, approximately one per 67 homes, with an average paid claim of $15,400 and 22.6% of homeowners' losses in 2023; the same guide notes that mold can establish on wet surfaces within 24–48 hours. These aren't skylight-only claim figures, but they show why an active drip shouldn't become a postponed maintenance item.
Use this containment sequence while arranging a safe roof assessment.
Isolate the entry point with a hose
A controlled test uses a garden hose with a gentle spray, not a pressure washer. The roof-side technician needs safe access and fall protection; homeowners can provide the interior observations without climbing onto the roof.
- Wait for a dry roof. Put a helper indoors with a flashlight and a clear view of the affected shaft or ceiling. Agree on a stop signal before starting.
- Spray only the glass and sash for several minutes. Keep the stream away from the roof perimeter while the helper watches for fresh moisture.
- Test the perimeter separately. Spray one side jamb, then the other, then the sill, then the head. Pause between zones long enough to notice delayed drips.
- Move to the roof covering just upslope last. This checks whether water is arriving from outside the skylight assembly.
- Mark the first leaking zone. Record where the hose was aimed and where the water appeared indoors, then stop rather than saturating everything.
Flooding the whole roof hides the source. A hose test also doesn't reproduce every storm-pressure condition, so a negative result isn't proof that a directional storm leak has disappeared.
If the test isolates a gasket or operable sash and the frame and curb remain straight, replace the compatible gasket or hardware and retest. If water enters at the curb or roof junction, stop and plan a flashing rebuild.
During an active storm, a trained crew should secure temporary protection so runoff sheds past the opening. Keep the indoor collection area accessible and save photos of the temporary work. Roof cement can conceal a failed lap, trap water, and make the next technician scrape away layers before diagnosis can resume.
Finish any gasket repair with another controlled spray. Don't close drywall until concealed materials have been assessed and dried.
Decide on Repair or Replacement After a Storm
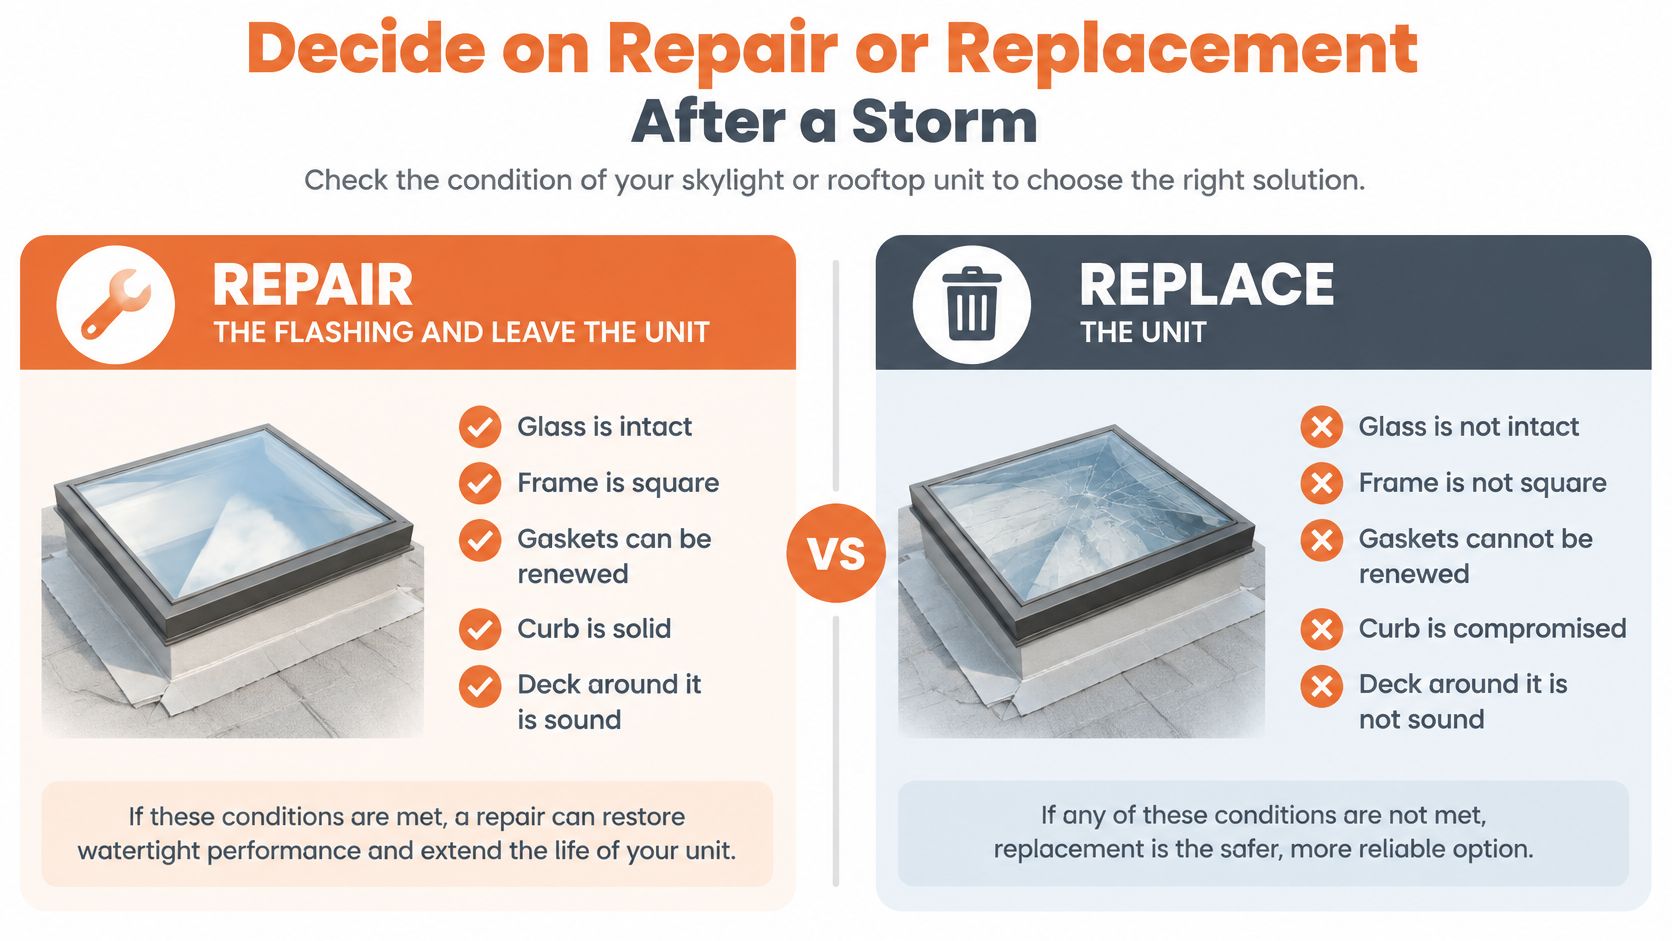
Repair the flashing or replace the skylight
| What you find | Repair flashing | Replace the unit |
|---|---|---|
| Glass intact, frame square, dry solid curb | Yes, rebuild laps and retest | No |
| Worn gasket or sash only, curb and deck dry | Yes, plus new gasket or hardware | No |
| Fog or water between panes | No; sealant will not reseal the unit | Yes, glass or full unit |
| Cracked glazing or racked frame | No | Yes |
| Soft curb, wet sheathing, or mold in the deck | No, until the wood is replaced | Yes, with deck repair |
| Old non-impact glazing in a debris region | Only if it still has a valid approval and the laps are sound | Yes, if approval or the cover is gone |
Use this as a scope checklist, not permission to order a dome from its outside dimensions alone. Record the unit label and approval information, curb height and condition, deck softness, flashing laps, and storm photographs before removing materials. A compatible glass replacement may preserve a sound frame, but damaged supporting wood needs its own repair scope.
The condition of the opening matters as much as the condition of the glass.
Check approval before keeping an older unit
A watertight older skylight can still raise compliance questions after hurricane exposure. The Florida Building Code technical document published by Plaskolite states that glazed openings in windborne-debris regions generally require impact-resistant glazing or an approved protective covering.
An older clear acrylic bubble shouldn't be assumed compliant because it hasn't cracked. Check whether the installed assembly still matches its approval, including its attachment and protection. Replacing only the glass can leave obsolete protection or defective roof details unchanged.
For homeowners, HOA boards, and warehouse managers, the sensible trade-off is avoiding unnecessary roof disturbance without preserving an assembly that can't meet the applicable requirements. Where storm damage leaves an exposed opening, emergency storm repair is temporary stabilization, not a substitute for that decision.
Confirm the permit scope before tear-off
Miami-Dade County's hurricane-mitigation guidance ties roofing permits to the High-Velocity Hurricane Zone uniform roofing application and explains that qualifying existing single-family roof replacement can trigger roof-sheathing attachment and secondary-water-barrier work, with the permit holder's Affidavit of Compliance required at the first roofing inspection. The stated retrofit scope applies to sloped hipped or gable roofs.
A skylight job that removes surrounding underlayment may therefore need review as part of the roofing assembly, not as a cosmetic caulk visit. The exact trigger depends on the work and property. We handle local permitting rather than leaving the owner to guess which scope applies.
Broward isn't the same permit counter. The Broward MPO municipal profiles identify Pembroke Pines and Cooper City as Broward municipalities; permitting follows the property's applicable city process, while unincorporated Broward and county-contracted jurisdictions have different administrative paths.
Before tear-off: Have the opening, curb, and field-underlayment scope checked against the authority that actually permits the property.
For preliminary budgeting, Elite Solar Systems reported a 2024 average skylight-repair cost of $300 to $500, with leaking-skylight repairs ranging from $225 to $800. That's a historical repair reference, not a South Florida quote: gasket work tends toward the simpler end, while flashing reconstruction with soft deck wood requires more labor and materials. Full replacement needs its own written estimate.
Rebuild Flashing So Water Sheds Downhill
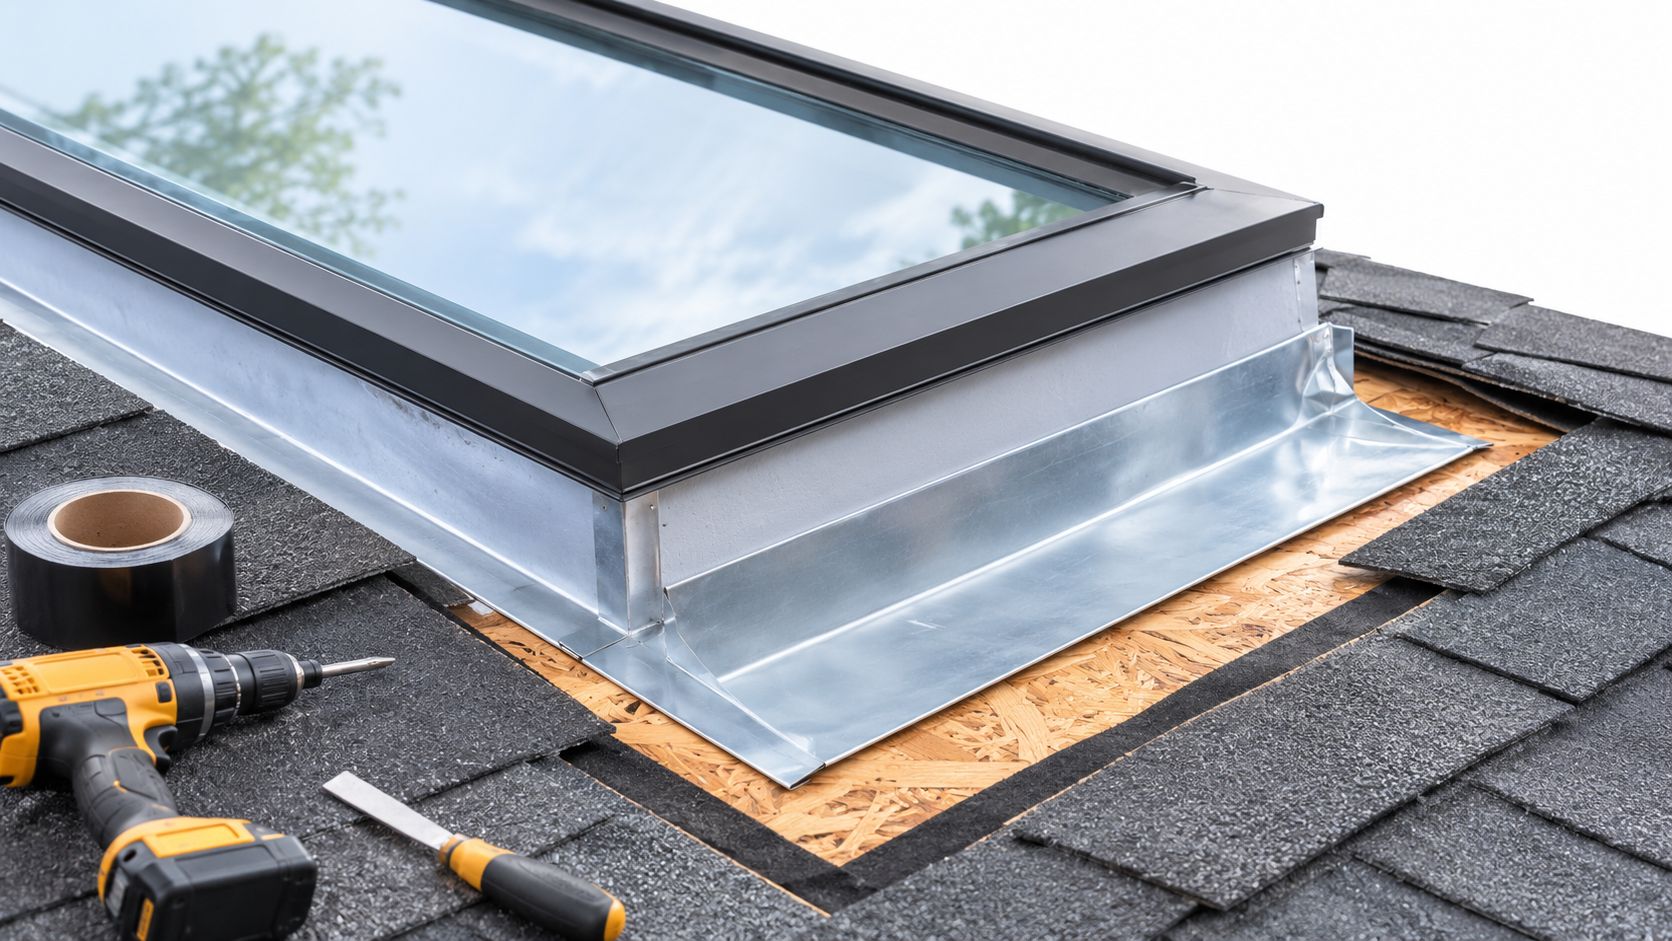
Sealant isn't the drainage plane. Metal flashing and membrane must direct water around the curb and back onto the roof surface. A thick cement ring can't correct an upper sheet tucked beneath the wrong lower sheet.
A limited opening may be enough to rebuild a sound curb, but the technician must expose enough material to inspect the deck and underlayment. Soft wood, torn membrane, or damage extending beyond the immediate perimeter calls for a larger repair area.
The roof-to-curb connection needs room for inspection and clean installation.
Build from the sill upward
The Department of Energy's curb-skylight flashing guide calls for exposing the deck approximately 2 inches back at the sides and 3 inches at the top and bottom, and notes that many manufacturers won't warrant ordinary installations on slopes from 2:12 to 4:12 without a raised curb or inclined flashing kit; it also identifies ASTM E1105-style field water testing as a quality-control option where project risk or commercial specifications justify it.
Those exposure dimensions describe a starting detail, not a limit on removing damaged material. The actual skylight and roofing system still need compatible components.
- Remove damaged covering and old cement. Use controlled hand-tool work around the frame and curb so scraping doesn't puncture reusable metal or membrane. Replace deteriorated wood before covering it.
- Wrap the sill and jambs with compatible self-adhered membrane. Place the membrane below the roof covering but above the underlayment, with clean contact at corners rather than wrinkles that leave channels.
- Integrate the head membrane with the field underlayment. Attach it to the deck through properly cut underlayment so upslope water reaches the head detail and continues outward, rather than entering behind it.
- Install sill flashing first, side flashing next, and head flashing last. Each upper component must shed onto the component below.
- On shingles, interweave step flashing with every course. A continuous strip covered in cement isn't an equivalent replacement for properly layered step flashing.
- On metal roofs, use the panel manufacturer's compatible flashing system or a correctly fabricated matching-metal assembly. Avoid incompatible metals that can corrode where coastal moisture reaches the joint.
- Keep fastening and drainage separate. Use the attachment locations specified for the assembly, seal fastener heads only where allowed, and leave corners free of cement dams.
Low-slope additions deserve particular attention. A Doral warehouse roof or single-story Miami Lakes addition may need a different curb or inclined assembly than a steeper shingle roof. Don't assume a standard kit suits every pitch.
This installation video provides a visual reference for the work around the opening.
Verify runoff before finishing
Inspect the head, corners, and fasteners before replacing the last surrounding materials. Water should pass off the head, along the sides, and out over the sill without collecting against the curb. Repeat the zoned spray test and photograph the completed assembly.
A commercial specification or recurring difficult leak may justify formal field testing rather than another informal hose check. The test method and acceptance criteria should be agreed on before work begins.
For a roof repair involving skylight flashing, we use manufacturer-spec materials and our own trained crew through final inspection. Keep off wet tile or metal, never step on a skylight, and resolve permit requirements before removing roof covering or underlayment.
Schedule Skylight Inspections and Document Leaks
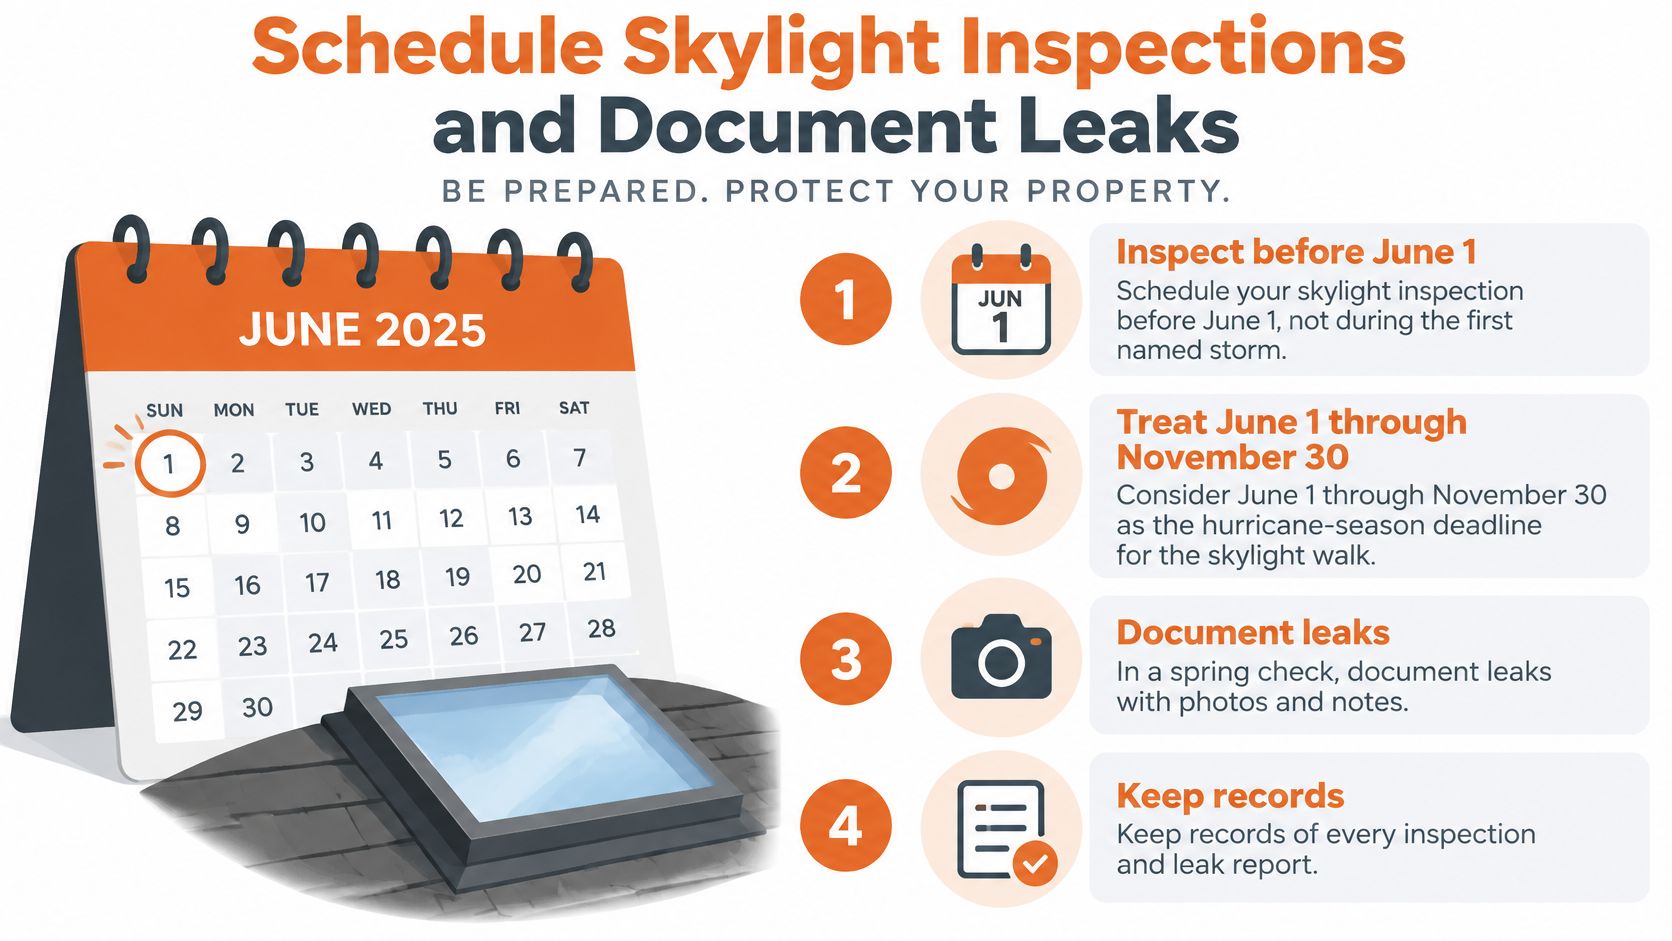
Miami-Dade County's building department identifies hurricane season as June 1 through November 30, so schedule the skylight check before June 1 rather than during the first named storm. Advance inspection gives you time to address loose materials without combining diagnosis with emergency weather protection.
For spring checks in Hialeah, Miami Lakes, Pinecrest, and Palmetto Bay, record the condition of each unit and the ceiling below. Look for lifted curb corners, brittle sealant, loose step flashing, cracked domes, and new shaft stains.
Use a calendar-based checklist to make inspection and recordkeeping routine.
Keep a useful damage record
Photograph the complete skylight, curb corners, surrounding roof, and interior ceiling from consistent viewpoints. After a storm, take photos and video before tarps or replacement metal conceal the damaged area, provided documentation doesn't delay urgent protection.
Keep a dated log describing when water appeared, the weather, and what temporary work was done. Save invoices, the inspection findings, and images of concealed conditions exposed during repair. These records help distinguish old staining from new damage.
We advise paying minor cosmetic repairs out of pocket when that's cheaper than filing a claim, because a claim can raise your premium. Opened decks, soaked rooms, and storm-broken glazing deserve a policy review and documented assessment rather than an automatic decision either way.
Resolve the scope before work starts
Use these questions to check that the proposed repair covers the whole opening:
- Permit status: Does this opening need a roofing permit for the proposed work?
- Roof assembly: Will underlayment removal involve sheathing attachment or secondary-water-barrier requirements?
- Glazing protection: Is replacement glazing impact-rated, or does the approved assembly require a protective covering?
We manage local permits and inspection scheduling, so the scope can be settled before materials come off. A documented roof inspection should leave you with an identifiable defect and a proposed repair, not just a photograph of cracked caulk.
Keep everyone off wet tile or metal, and never run a hose test during lightning. A photo set and a zoned water test provide a better basis for repair than another tube of cement.
Book a Skylight Inspection from Hialeah
If a skylight still leaks after a gasket replacement, or the glass is cracked, stop patching it and have the opening assessed. Water at the curb or upslope roof, and a soft roof deck, can point to problems beyond the skylight unit itself.
Rooftop Solutions is a licensed and insured roofing contractor based in Hialeah. Across Miami-Dade and Broward County, priority service locations include Hialeah, Doral, Miami Lakes, Coral Gables, Pinecrest, Palmetto Bay, South Miami, Kendale Lakes, Pembroke Pines, and Cooper City.
Have these details ready
- Damage photos: Share pictures of the original stain and, if safe, video of active dripping.
- Unit identification: Provide the skylight brand label if you can read it without climbing or leaning onto the opening.
- Property location: Give the city and address to help identify the permitting path.
- Leak timing: Note whether water appears during calm rain, directional storms, or dry weather.
Rooftop Solutions will not sell a replacement if a properly flashed repair is enough. Its own trained crew handles each project, without subcontractors.
The company offers skylight installation and replacement with flashing and sealing suited to Florida storms, as well as roof repairs for leaks and damaged flashing. For storm damage, it provides rapid emergency tarping, post-storm assessment, and a direct line to the crew. A roof inspection is free and carries no obligation.
Call or text (305) 615-5060 to arrange an inspection. You can also visit Rooftop Solutions to request an assessment.
